This article will walk you through getting a custom Fuel Moto Power Vision CX fuel map back into your vehicle if your vehicle was taken back in to a dealer and a recall flash or simply an update flash was performed. As always, please don’t hesitate to give our technicians a call for additional assistance at 920-423-3309 or shoot them an email, info@fuelmotousa.com.
The first step is to connect your Power Vision CX up to your vehicle. If applicable, you will need to have your security key fob nearby as well. With the Power Vision CX connected to your vehicle, turn the ignition / key to the run position (do not actually fire up the engine however).

The default screen appears when powered on.

The Main Menu
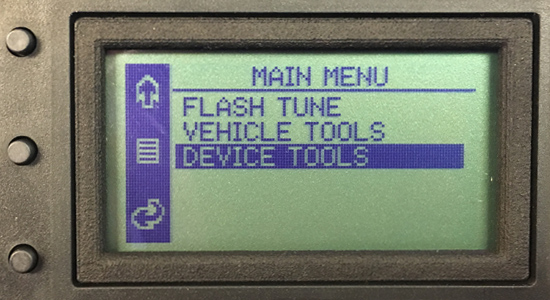
Press the top button to bring up the main menu, press the the top button until the words ‘Device Tools’ are highlighted. Once highlighted, press the middle button.
The Device Tools Menu
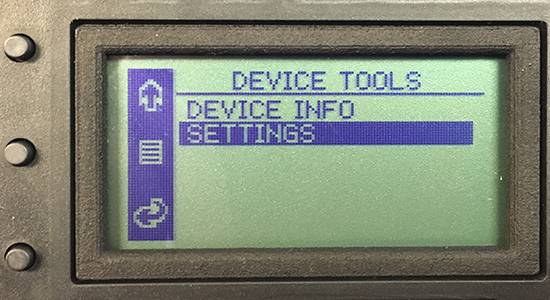
Press the top button until ‘Settings’ is highlighted. Once highlighted, press the middle button.
The Settings Menu
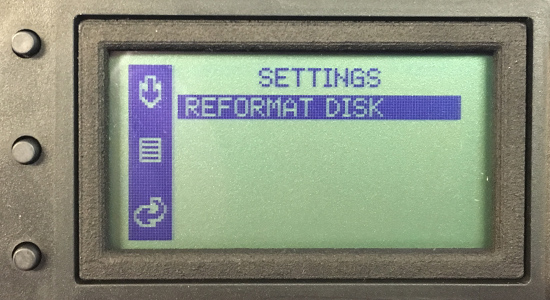
Press the middle button which will select the ‘Reformat Disk’ option.
Format Disk Prompt
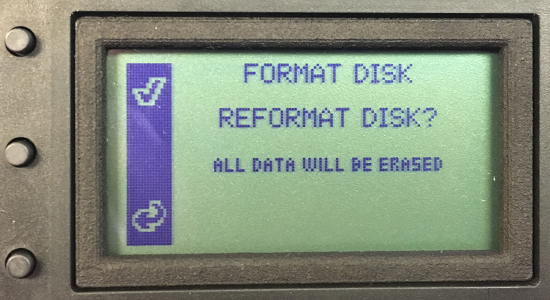
Select the top button which is next to the checkmark to continue with the reformat.
Restart Device Prompt
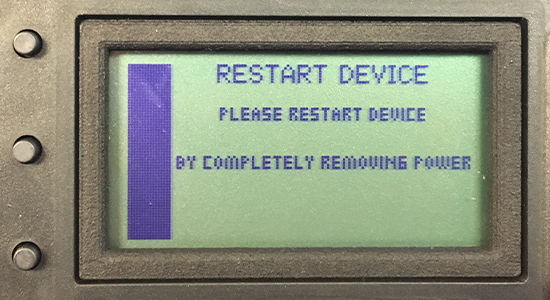
You will be prompted to restart the device. Disconnect the power cable, wait 10 seconds, and then reconnect the power cable.
Disk Formatting Menu
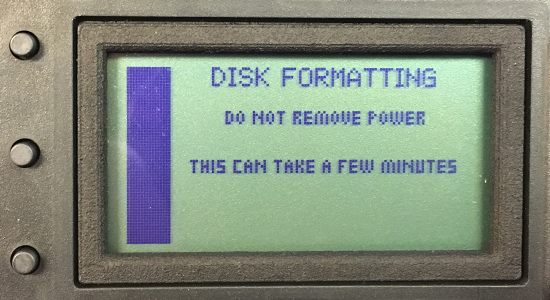
When the Power Vision CX powers back on, the disk formatting will commence. Please wait for the process to complete which can take a few minutes.
Startup Menu
The Power Vision CX will automatically reboot when the process is complete.
Power Vision CX Tune File Wizard
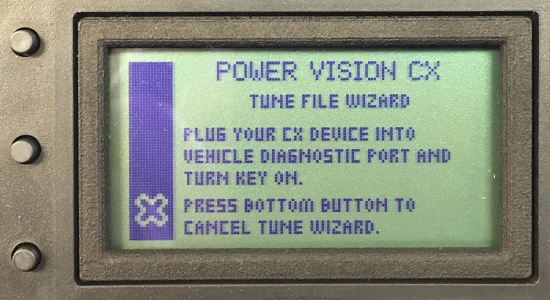
Connect the PV-CX to your bike and turn the ignition switch on. Press the bottom button to exit the Tune File Wizard. This will automatically bring up the main menu.
Main Menu
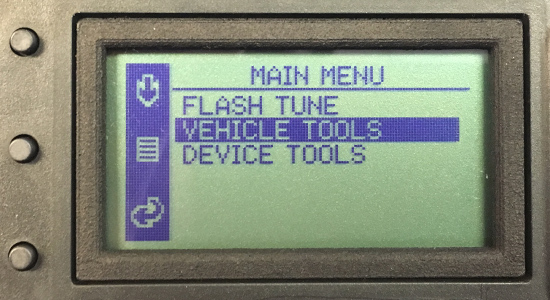
Select the top button until ‘Vehicle Tools’ is highlighted. Once highlighted, press the middle button.
Vehicle Tools Menu
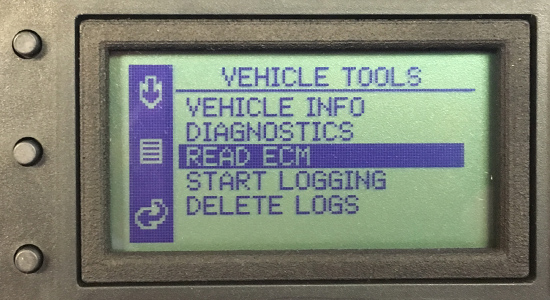
Select the top button until ‘Read ECM’ is highlighted. Once highlighted, press the middle button.
Read ECM Prompt
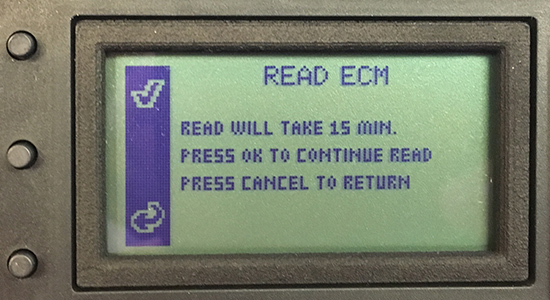
Select the top button which is next to the checkmark to continue with the ECM read. The ECM read process can take up to 15 minutes. The lights on the face of the Power Vision CX will flash until you are prompted that the ECM read is complete. Once prompted that the ECM read is complete, you can turn off your vehicle and disconnect your Power Vision CX.
*** IMPORTANT STEP ***
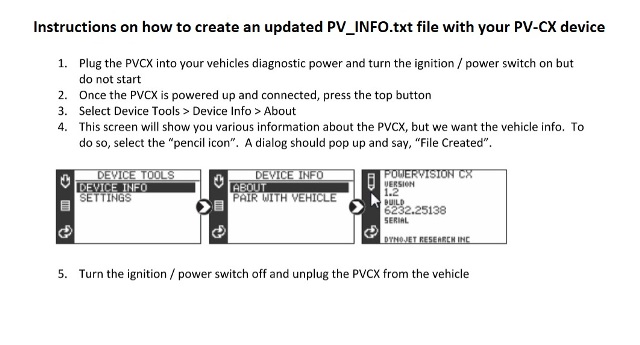
We will now need to create an updated PV_INFO.txt file with the Power Vision device using the procedure in the above image. ^^DO NOT SKIP THIS STEP^^
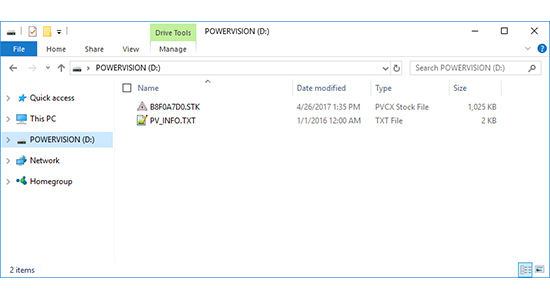
Custom Fuel Moto Power Vision CX Fuel Map
(Power Vision CX when connected to a Windows computer)
Connect your Power Vision CX to your Windows computer using the provided USB cable. A drive will appear titled ‘POWERVISION’ and it will have two files present, one titled ‘PV_INFO.TXT’ and a second with the ECM read that ends in .STK.
You are now able to submit a custom fuel map request through Fuel Moto’s website at the link below: https://www.fuelmotousa.com/p-33537-custom-fuel-map-support.html. A Fuel Moto technician will email the new custom fuel map to you and you are ready to go!