Upgrading the camshaft in a Harley-Davidson Milwaukee-Eight (M8) engine can significantly enhance performance. This guide walks through the Milwaukee-8 cam install instructions using a bolt-in replacement cam and quick install adjustable pushrods. The bike in this example is a 107″ M8 air-cooled Road Glide, and we will be reusing the stock lifters.
Preparing for Disassembly
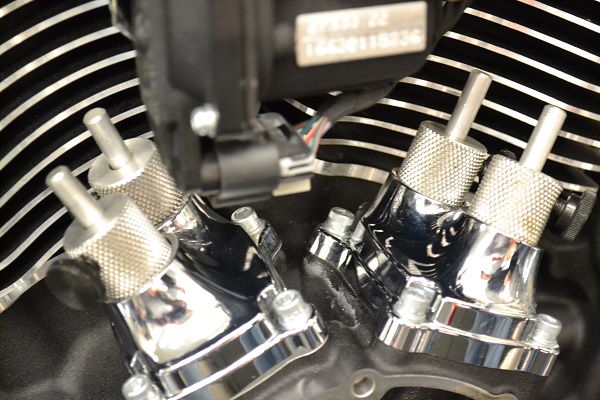
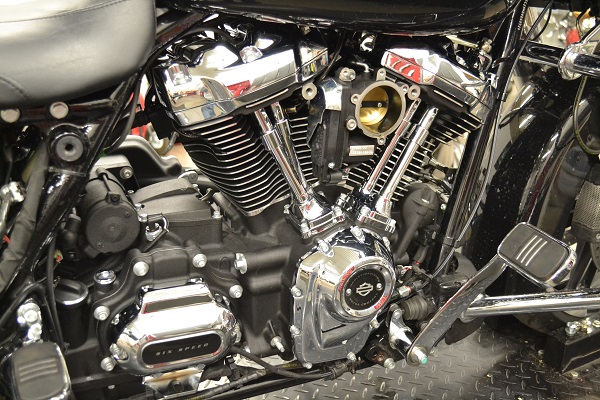
Before beginning, remove the complete exhaust system, air cleaner, and cam cover. This will provide clear access to the cam chest.
Here is the motor ready for disassembly.

1: Remove the Stock Pushrods
Since quick install adjustable pushrods will be used, the factory pushrods will not be reinstalled. To remove them:
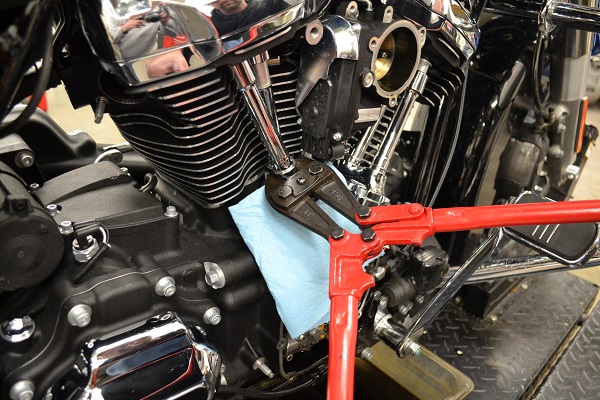
- Cut the factory pushrods using a bolt cutter. This ensures a clean cut and prevents metal debris from entering the engine.
- Avoid using a cutoff wheel or grinder, as these tools generate particles that can damage the engine.
The image below shows cutting the factory pushrods with a bolt cutters and removing them.
2: Access the Cam Chest
- Remove the cam cover to expose the cam chest.
- Remove the cam chain tensioner, sprockets, and chain.
- Detach the cam plate, leaving the oil pump in place inside the engine case.
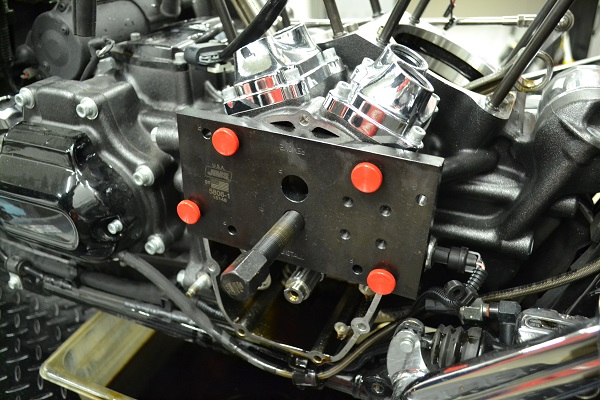
Here is a close up image of the cam chest.

The image below shows the cam chest with cam plate removed.

3: Replace the Inner Cam Bearing
- Use the appropriate cam bearing tools to remove and install the inner cam bearing.
- Ensure the bearing is properly seated before proceeding.

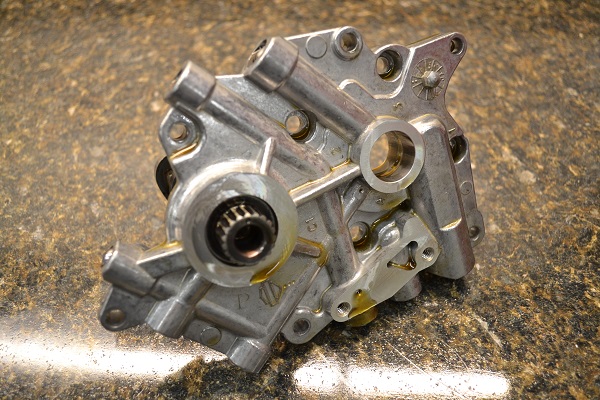
M8 cam plate removed from engine.
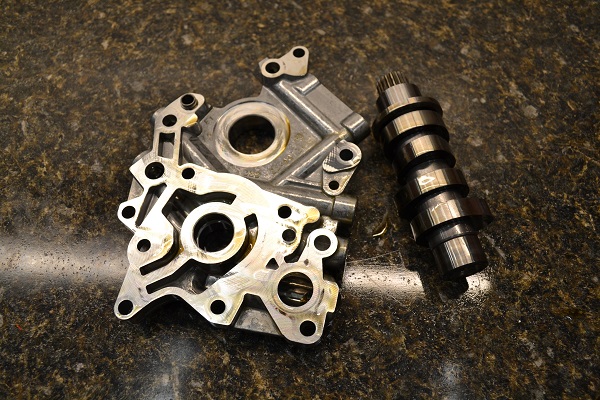
Backside view of M8 cam plate with camshaft.
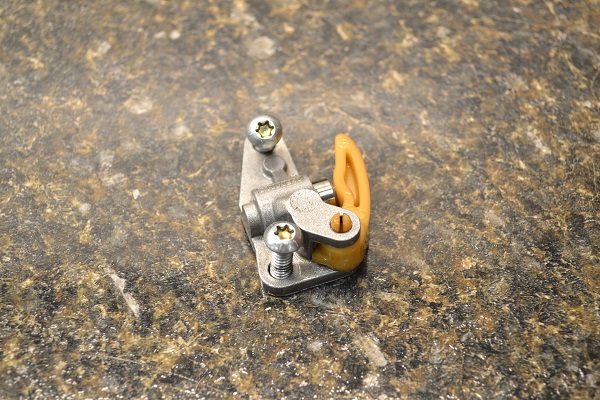
Cam sprockets and chain.

Cam chain tensioner.
Stock H-D M8 cam on the left, Wood Performance WM8-222 cam on the right. Note the lobes are pressed on the factory cam, the aftermarket cam is machined from a billet blank.

The lifter blocks and lifters do not need to removed. For holding the lifters to allow cam plate removal we use the same Twin Cam magnetic tools for holding the lifters in place on the M8. There are other simple ways to hold them as well including the binder clip method. NOTE: we recommend replacing and upgrading lifters at the same time as part of a complete cam swap.
Installing the New Camshaft
4: Prepare the Cam Plate and Camshaft
Carefully clean and inspect the cam and cam plate. Liberally apply assembly lube to the camshaft.
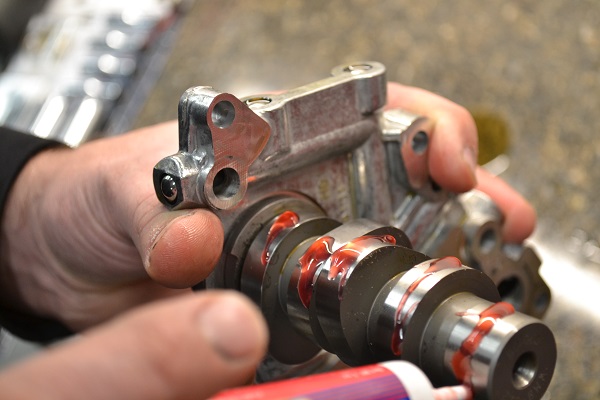
Replace the O-ring on feed oil port. Install cam plate into the engine cases and screws loosely.
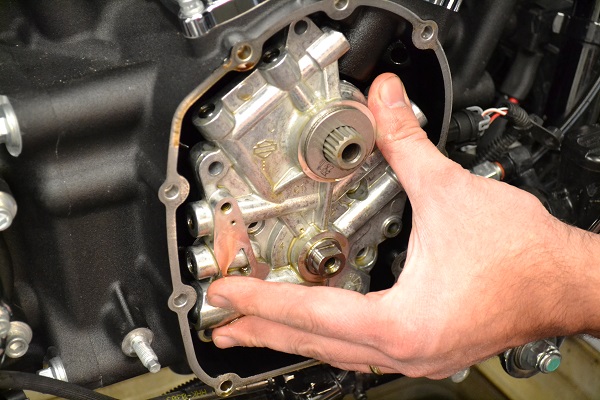
5: Secure the Cam Plate
- Turn the engine using the rear wheel to confirm the oil pump is not binding.
- Tighten the cam plate screws in sequence as per the service manual, do not final torque.
- Turn engine until the flat surface on the crankshaft is horizontal.
- Carefully torque cam plate bolts in steps as listed in service manual. Final torque on these bolts is 120 in-lb.

6: Install Cam Sprockets and Chain
- Attach the cam and crankshaft sprockets using red Loctite on these fastners.
- Use the same locking tool as a Twin Cam to hold components in place.
- Double check sprocket alignment and cam spacing.
- Carefully torque cam sprocket bolt to 34 ft-lb and crankshaft sprocket to 25 ft-lb.
- Align the cam timing marks:
- The dot on the upper sprocket should be at 6:00.
- The dot on the lower sprocket should be at 12:00.

Note cam timing marks. The dot on the upper sprocket will be at 6:00. The dot on the lower sprocket is at 12:00.
7: Install Chain Tensioner and Pushrods
- Install the cam chain tensioner using blue Loctite, and torque to 120 in-lb.
- Install and adjust the pushrods:
- Follow the full adjustment procedure of manufacturer’s thread pitch specifications.
- Adjust pushrods to spec based on the thread pitch listed by the manufacturer and for the specific lifter you are using.

8: Final Assembly
- Reinstall the cam cover.
- Reinstall the exhaust system and all previously removed components that were removed for cam installation.
- Double-check all torques and clearances before starting the engine.
Final Thoughts on Milwaukee-8 Cam Install Instructions
Completing a Milwaukee-8 cam install requires careful attention to detail, but with the right tools and steps, it is a straightforward process. By following these instructions, you can successfully upgrade your Milwaukee-8 engine for improved performance.
For more information, dyno data, and camshaft comparisons, check out our M8 Dyno shootouts for the 107″ and 114″ engines.