If your ECU has been updated by your Indian dealer, you may need to flash a new custom tune. These updates are often automatically applied when a dealer connects your bike to Digital Wrench, which may overwrite your custom tune or require a new calibration entirely. If you notice that your PV3 no longer displays live data, flashes tunes, or functions as expected, don’t worry—there’s a simple fix. Follow these steps to update your Dynojet PV3 device and restore its capabilities.
Step 1: Reformat Your PV3 Device
First, you’ll need to reformat the PV3 to clear any old data and ensure a smooth update process. Here’s how:
- From the Main Menu, go to Device Tools > Reformat Disk.
- Press the center-left button to begin reformatting.
This step helps reset your device, preparing it for the firmware update.
Step 2: Update Your Dynojet PV3 Device Firmware
Next, you’ll need to update the firmware to ensure compatibility with your ECU. The easiest way to do this is:
- Connect the PV3 to your computer via USB.
- Download the appropriate firmware from the Dynojet PV3 downloads page.
- Save the firmware file directly to the PV3 device.
- On the PV3, go to Device Tools > Update Device and select the downloaded firmware.
- Run the update.
Need more guidance? Watch this video for step-by-step instructions.
Step 3: Perform a New ECU Read
After updating the firmware, you’ll need to re-read your ECU so the PV3 can recognize the new calibration. Follow these steps:
- Plug the PV3 into your bike’s data port.
- Turn on the ignition and handlebar run switch.
- Navigate to Vehicle Tools > Read ECU.
- The PV3 will store a new .STK file and generate an updated PVINFO.txt file.
At this point, your PV3 will have the most current ECU data, which is essential for tuning.
Step 4: Request a New Tune from Fuel Moto or Dynojet
Once your ECU has been read, you’re ready to apply a tune. If you purchased your PV3 from Fuel Moto, request a new Fuel Moto tune by submitting your .STK and PVINFO.txt files via the Fuel Map Request Form.
- For Fuel Moto Tunes: Full instructions for requesting and downloading tunes are available here.
- For Dynojet Tunes: You can also download updated tunes from the Dynojet website.
Step 5: Flash the New Tune to Your Bike
Finally, you’re ready to flash the updated tune to your bike. Here’s what to do next:
- Connect the PV3 to your bike’s data port.
- Turn on the ignition and run switch.
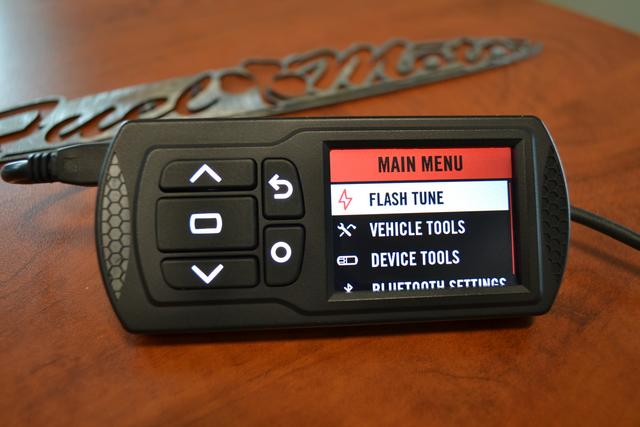
- Navigate to Flash Tune.
- Select the PV3 tune (.DJT) file you want to flash.
- Follow on-screen instructions to complete the flash.
Once the flash is complete, your Dynojet PV3 will be fully updated and ready to flash your custom tune.
By following these steps, you can ensure that your PV3 remains fully functional and compatible with your Indian. Keeping your PV3 firmware and tune files up to date helps maintain peak performance and tuning accuracy.
For expert tuning support, visit www.fuelmotusa.com!